Map library / Curated examples

Read the design.
Then explore it.

Original maps, each built to make a design question clear. Open a read-only Viewer, follow its saved views, or load an editable copy to see how the plan was made.

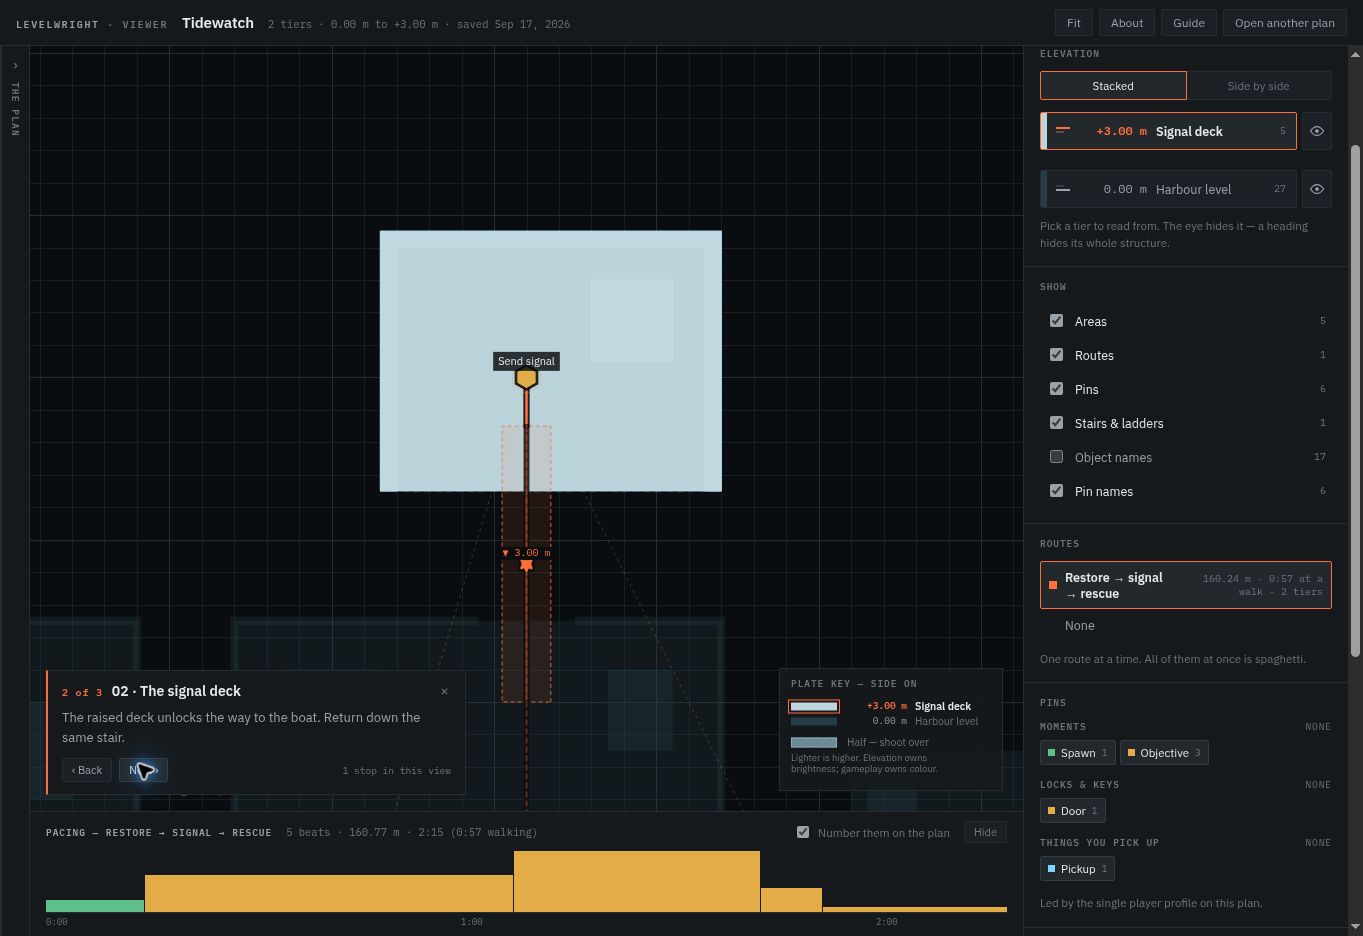
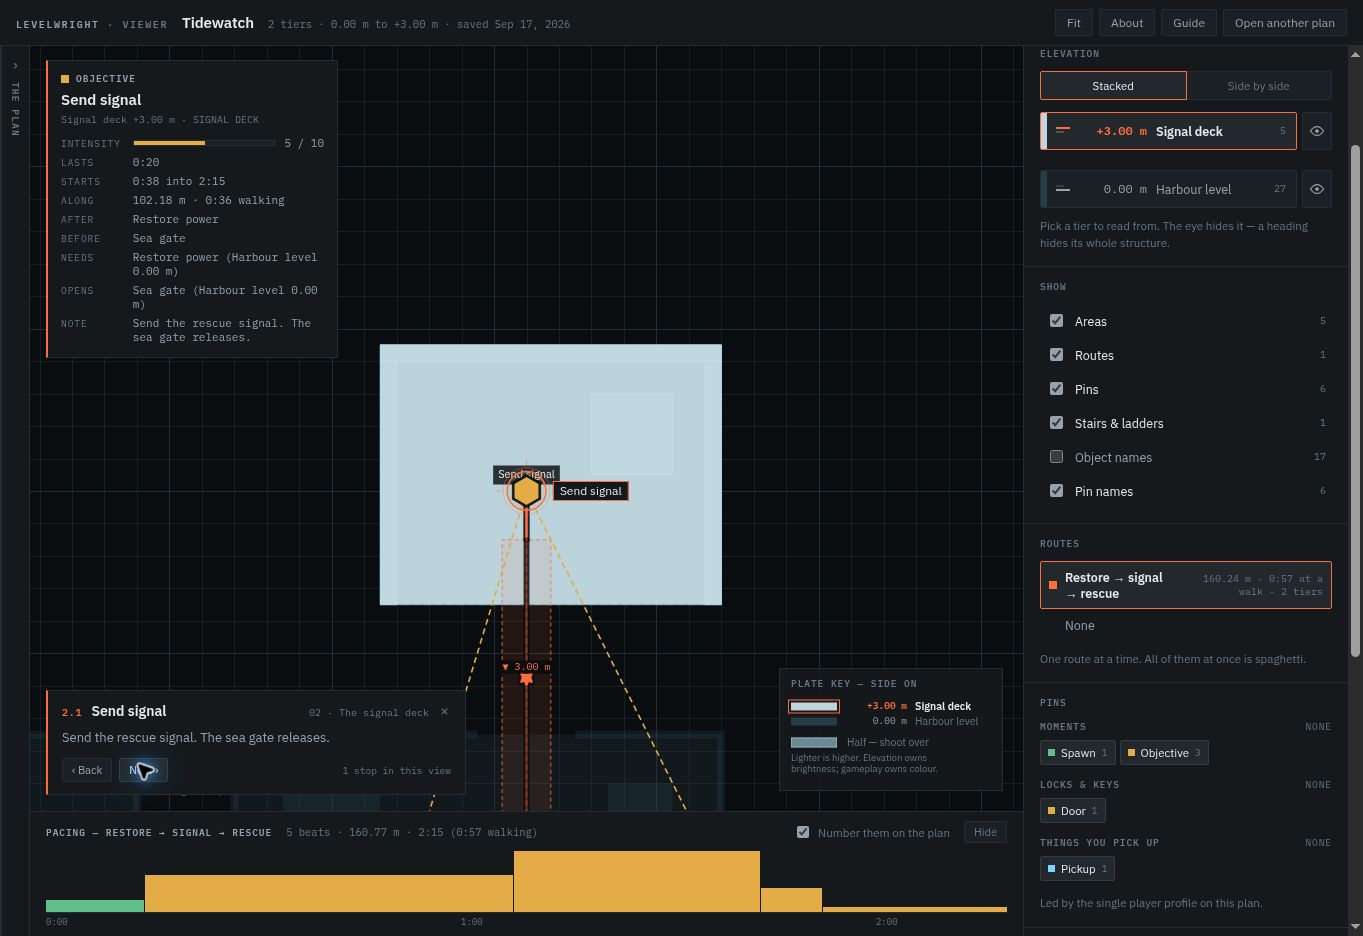
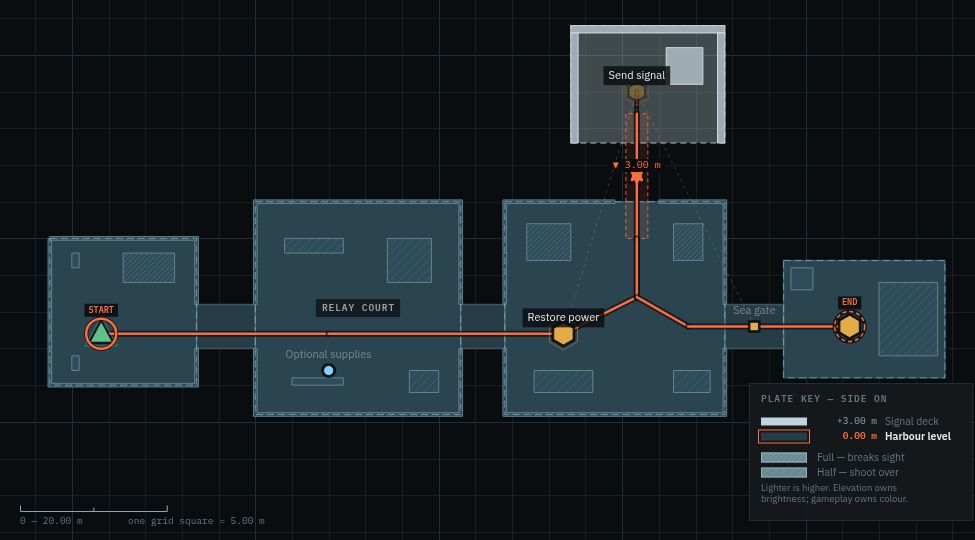
Tidewatch: Restore station power, climb to the signal deck, then return through the sea gate to the rescue boat.
Single-player mission

Tidewatch

How do you make a visible destination feel earned? Restore station power, climb to the signal deck, then return through the sea gate to the rescue boat.

2 elevations · 5 main beats · 3 saved views

Start with The rescue plan. Use Next to inspect the raised signal deck and the final approach.
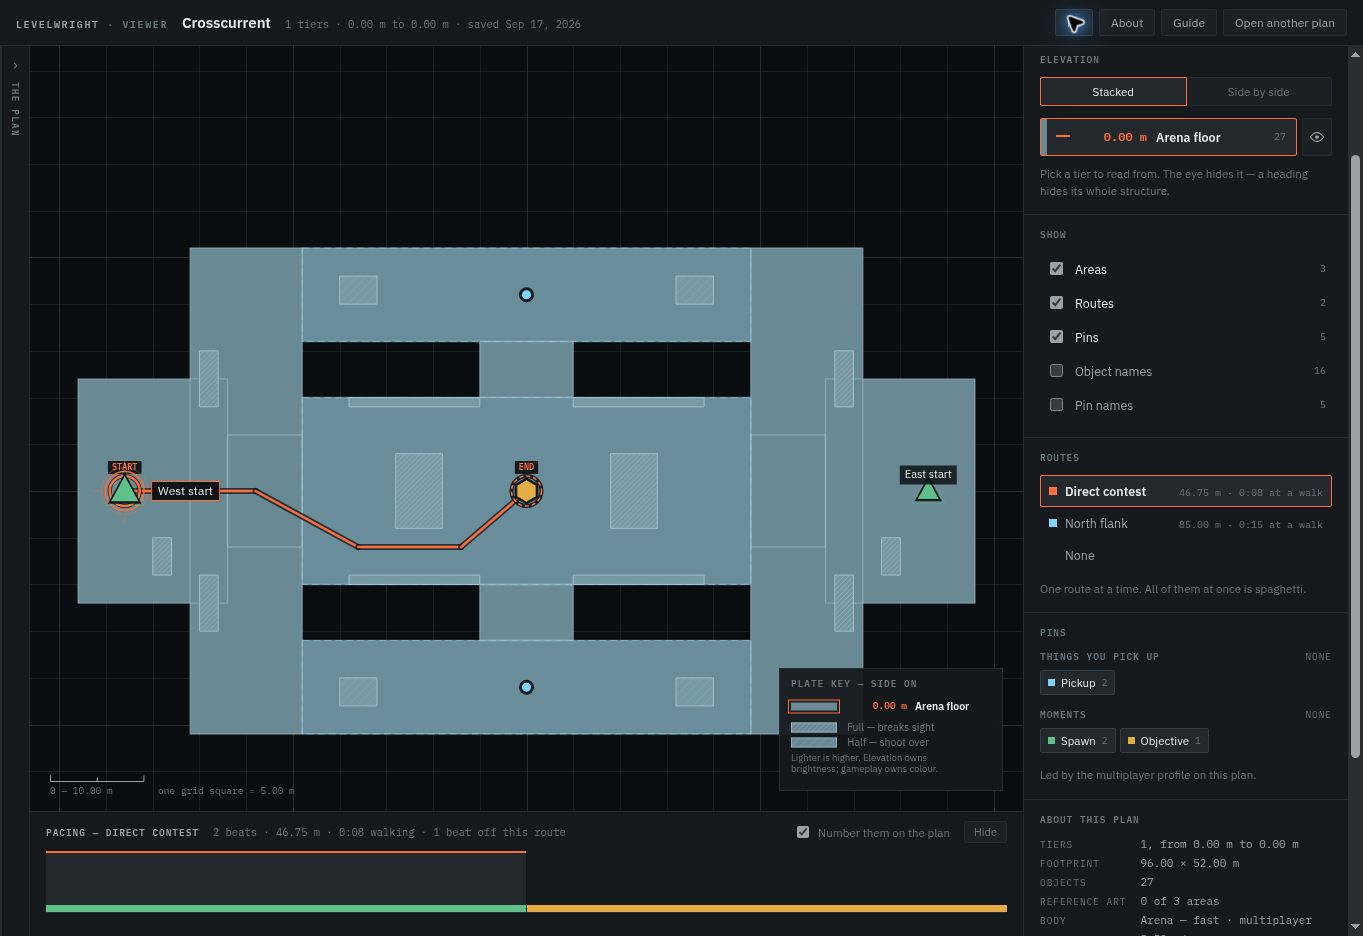
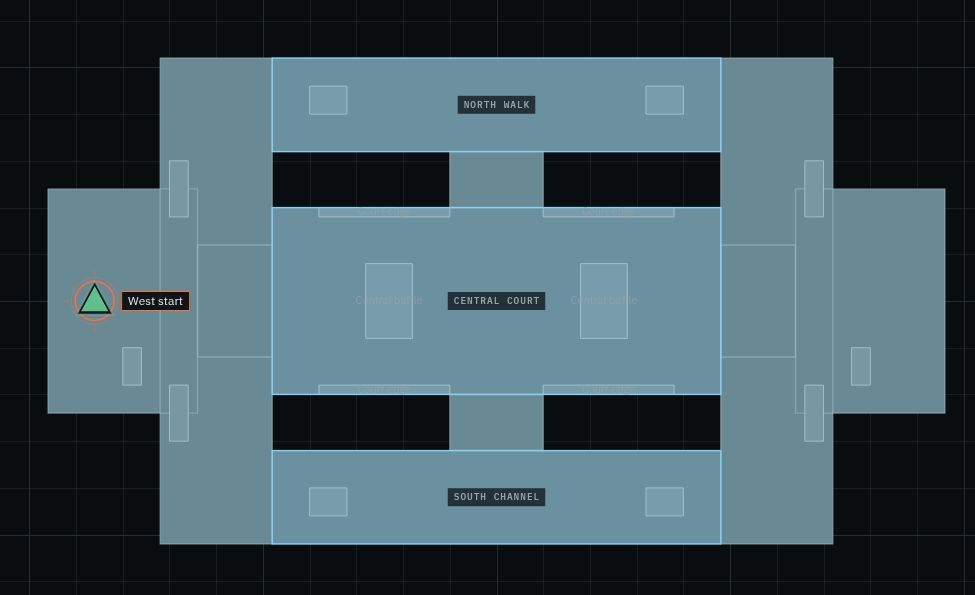
Crosscurrent: Two starts face a shared relay. The direct crossing is short; the outer lanes trade distance for supplies and another angle.
Objective arena

Crosscurrent

When is the longer route worth taking? Two starts face a shared relay. The direct crossing is short; the outer lanes trade distance for supplies and another angle.

3 lanes · 2 route studies · 1 shared objective

Compare Direct contest with North flank in Routes. Switch to Art to read the three lane spaces.

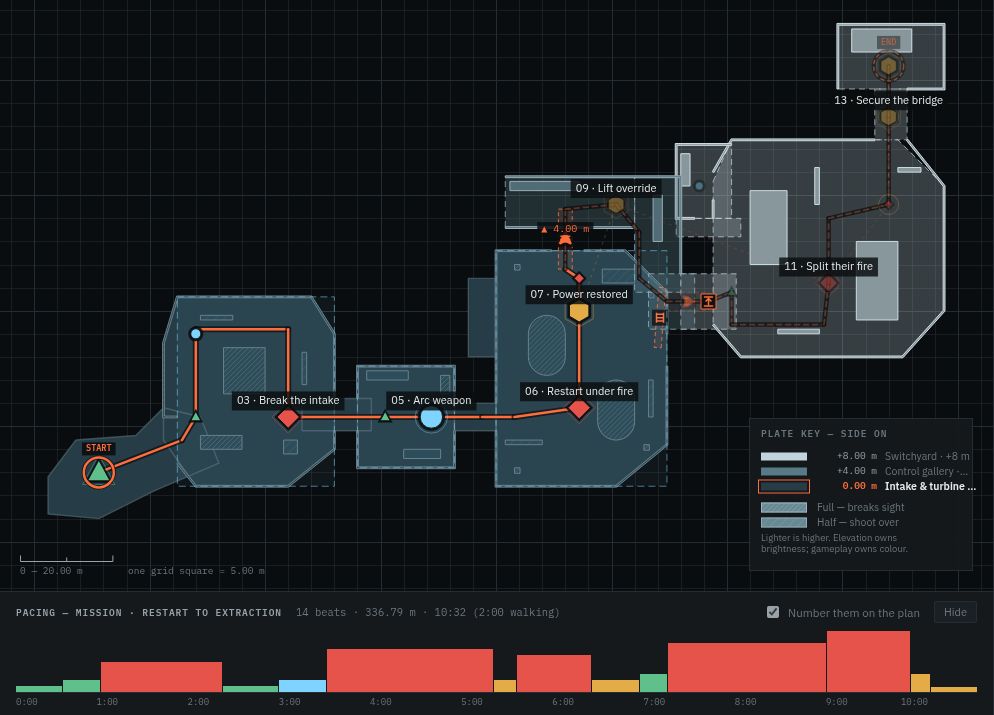
Black Start: Restart an occupied hydro station, climb to its switchyard, and break through to the cable car. Recovery spaces separate three escalating fights.
Linear combat mission

Black Start

How do you escalate combat without flattening the rhythm? Restart an occupied hydro station, climb to its switchyard, and break through to the cable car. Recovery spaces separate three escalating fights.

3 elevations · 14 main beats · 8 saved views

Follow the eight saved views. Compare the turbine counterattack with the switchyard finale, then inspect their intensity peaks in Pacing.

These are planning examples, not playtested game levels. Route times are estimates based on the map’s movement metrics. Editing a copy does not change the published example.

Inside the plans

A closer look.